How to Send WhatsApp Messages Directly from Google Sheets
Google Apps Script + Chatmaid gives you a zero-infrastructure WhatsApp sending capability built directly into the tool your team already uses. The setup takes about 15 minutes and requires zero ongoing maintenance. Get started: developers.chatmaid.net/signup — sandbox keys are free, so you can test every row of your sheet before going live.
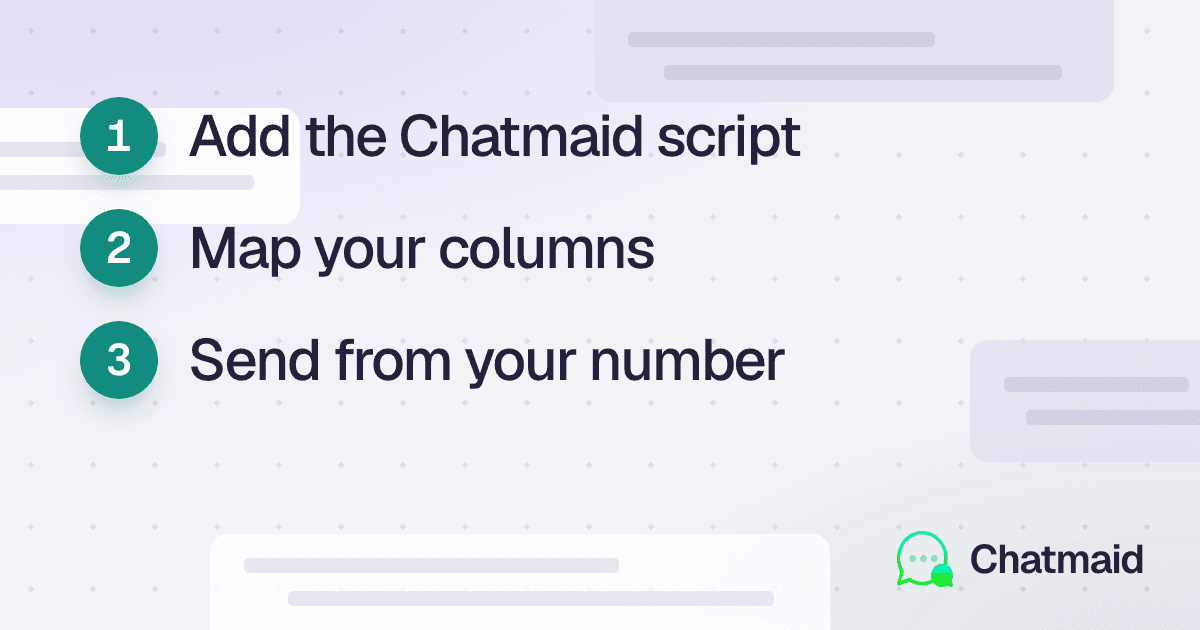
Google Sheets is where a surprising amount of real business lives — contact lists, customer records, order logs, appointment schedules. For teams that live in spreadsheets, being able to trigger a WhatsApp message directly from a row of data is genuinely useful.
This guide shows you how to do exactly that, using Google Apps Script (Google's built-in scripting environment) and the Chatmaid API. No separate tools, no monthly automation platform fee, no coding experience required beyond copy-pasting.
What You'll Build
By the end of this guide, you'll have a Google Sheet that can:
- Send a WhatsApp message to any row — click a button next to a contact and send them a message
- Bulk-send to a filtered list — select a range and send a message to everyone in it
- Auto-send on trigger — automatically WhatsApp a contact when their row status changes to "Send"
Prerequisites
- A Google account with Google Sheets access
- A Chatmaid Developers account (sandbox is free)
- A WhatsApp number connected to Chatmaid via QR scan
Part 1: Setting Up Your Sheet
Create a Google Sheet with at least these columns:
A: Name
B: Phone
C: Message
D: Status
Ana García
+50761234567
Hi Ana, your appointment is tomorrow at 10am
Pending
Carlos Ruiz
+50762345678
Hi Carlos, your order has shipped
Pending
- Phone must be in international format:
+[country code][number]with no spaces or dashes - Message is the text to send (can be personalized per row)
- Status will update to "Sent" after the message is delivered
Part 2: Opening the Apps Script Editor
In your Google Sheet:
- Click Extensions in the menu bar
- Click Apps Script
- A new tab opens with a code editor
Delete the default myFunction() code. You'll replace it with the scripts below.
Part 3: The Core Script
Paste this into the Apps Script editor:
javascript
// ============================================= // CHATMAID WHATSAPP INTEGRATION // ============================================= const CHATMAID_API_KEY = 'sk_live_xxxxxxxxxxxx'; // Replace with your key const SENDER_PHONE = '+15551234567'; // Replace with your connected number const API_URL = 'https://developers-api.chatmaid.net/v1/messages/send'; // Column positions (1-indexed) const COL_NAME = 1; // Column A const COL_PHONE = 2; // Column B const COL_MESSAGE = 3; // Column C const COL_STATUS = 4; // Column D /** * Send WhatsApp to a single row * Call this from a button or menu */ function sendToSelectedRow() { const sheet = SpreadsheetApp.getActiveSheet(); const row = sheet.getActiveRange().getRow(); if (row <= 1) { SpreadsheetApp.getUi().alert('Please select a data row (not the header).'); return; } const name = sheet.getRange(row, COL_NAME).getValue(); const phone = sheet.getRange(row, COL_PHONE).getValue().toString(); const message = sheet.getRange(row, COL_MESSAGE).getValue(); const status = sheet.getRange(row, COL_STATUS).getValue(); if (status === 'Sent') { SpreadsheetApp.getUi().alert(`Already sent to ${name}.`); return; } const result = sendWhatsApp(phone, message); if (result.success) { sheet.getRange(row, COL_STATUS).setValue('Sent'); sheet.getRange(row, COL_STATUS).setBackground('#d4edda'); // Green SpreadsheetApp.getUi().alert(`✅ Sent to ${name} (${phone})`); } else { sheet.getRange(row, COL_STATUS).setValue('Error: ' + result.error); sheet.getRange(row, COL_STATUS).setBackground('#f8d7da'); // Red } } /** * Send WhatsApp to all rows where Status = "Pending" */ function sendToAllPending() { const sheet = SpreadsheetApp.getActiveSheet(); const lastRow = sheet.getLastRow(); const ui = SpreadsheetApp.getUi(); const confirm = ui.alert( 'Send to all Pending?', `This will send WhatsApp messages to all rows with status "Pending". Continue?`, ui.ButtonSet.YES_NO ); if (confirm !== ui.Button.YES) return; let sent = 0; let errors = 0; for (let row = 2; row <= lastRow; row++) { const status = sheet.getRange(row, COL_STATUS).getValue(); if (status !== 'Pending') continue; const phone = sheet.getRange(row, COL_PHONE).getValue().toString(); const message = sheet.getRange(row, COL_MESSAGE).getValue(); const name = sheet.getRange(row, COL_NAME).getValue(); if (!phone || !message) continue; const result = sendWhatsApp(phone, message); if (result.success) { sheet.getRange(row, COL_STATUS).setValue('Sent'); sheet.getRange(row, COL_STATUS).setBackground('#d4edda'); sent++; } else { sheet.getRange(row, COL_STATUS).setValue('Error'); sheet.getRange(row, COL_STATUS).setBackground('#f8d7da'); errors++; } // Pause 500ms between sends to avoid rate limiting Utilities.sleep(500); } ui.alert(`Done! Sent: ${sent} | Errors: ${errors}`); } /** * Core send function — calls the Chatmaid API */ function sendWhatsApp(to, content) { try { const payload = { fromPhoneId: SENDER_PHONE, to: to.toString().trim(), content: content.toString() }; const options = { method: 'POST', headers: { 'Authorization': 'Bearer ' + CHATMAID_API_KEY, 'Content-Type': 'application/json' }, payload: JSON.stringify(payload), muteHttpExceptions: true }; const response = UrlFetchApp.fetch(API_URL, options); const responseCode = response.getResponseCode(); const responseBody = JSON.parse(response.getContentText()); if (responseCode === 200 || responseCode === 201) { return { success: true, messageId: responseBody.messageId }; } else { console.error('Chatmaid error:', responseBody); return { success: false, error: responseBody.error?.code || 'unknown_error' }; } } catch (e) { console.error('Request failed:', e); return { success: false, error: e.message }; } } /** * Add a custom menu to the sheet */ function onOpen() { SpreadsheetApp.getUi() .createMenu('📱 WhatsApp') .addItem('Send to selected row', 'sendToSelectedRow') .addItem('Send to all Pending', 'sendToAllPending') .addSeparator() .addItem('Reset all to Pending', 'resetAllToPending') .addToUi(); } /** * Reset all statuses to Pending (for re-sending campaigns) */ function resetAllToPending() { const sheet = SpreadsheetApp.getActiveSheet(); const lastRow = sheet.getLastRow(); for (let row = 2; row <= lastRow; row++) { sheet.getRange(row, COL_STATUS).setValue('Pending'); sheet.getRange(row, COL_STATUS).setBackground(null); } }
Save the script (Ctrl+S or Cmd+S).
Part 4: Authorizing the Script
The first time you run any function, Google will ask for permission to:
- Access your spreadsheet
- Make external HTTP requests (to call the Chatmaid API)
Click Review Permissions → Advanced → Go to [your script name] → Allow.
This is a one-time step. Once authorized, the script runs without prompting.
Part 5: Using the Sheet
After saving the script, refresh your Google Sheet. A new menu item appears: 📱 WhatsApp.
To send to one person:
- Click on any cell in their row
- Click 📱 WhatsApp → Send to selected row
- The status column updates to "Sent" (green) or "Error" (red)
To send to everyone pending:
- Click 📱 WhatsApp → Send to all Pending
- Confirm the dialog
- Watch each row update in real time
Part 6: Personalizing Messages with Row Data
Instead of a static message column, you can build messages dynamically using data from other columns. Modify the sendToAllPending function to construct the message:
javascript
// Replace the message variable with this: const name = sheet.getRange(row, COL_NAME).getValue(); const appointment = sheet.getRange(row, 5).getValue(); // Column E: Appointment date const message = `Hi ${name}! This is a reminder that your appointment is scheduled for ${appointment}. Reply CONFIRM to confirm or RESCHEDULE to change it.`;
Now every message is personalized with the customer's name and appointment date from the sheet.
Part 7: Auto-Send on Status Change (Advanced)
Want messages to send automatically when you change a cell? Use an onEdit trigger.
javascript
function onEdit(e) { const sheet = e.source.getActiveSheet(); const row = e.range.getRow(); const col = e.range.getColumn(); // Trigger when Status column (D) is changed to "Send" if (col === COL_STATUS && e.value === 'Send') { const phone = sheet.getRange(row, COL_PHONE).getValue().toString(); const message = sheet.getRange(row, COL_MESSAGE).getValue(); const result = sendWhatsApp(phone, message); if (result.success) { e.range.setValue('Sent'); e.range.setBackground('#d4edda'); } else { e.range.setValue('Error'); e.range.setBackground('#f8d7da'); } } }
Now your team can trigger WhatsApp messages from anywhere in the organization just by typing "Send" in the status column — no technical knowledge required.
Use Cases
Appointment reminders — A column per client with their appointment time. Run "Send to all Pending" the day before.
Order notifications — Paste your order export, set the message column to "Your order #X has shipped", blast in one click.
Lead follow-up — Sales team updates a status in the sheet; the WhatsApp fires automatically.
Payment reminders — Filter overdue invoices into the sheet, customize the message, send.
Event invitations — Upload your invite list, write the message once, send to all.
Rate Limiting Note
The script includes a 500ms pause between sends (Utilities.sleep(500)). For large lists (500+ contacts), increase this to 1000ms to stay comfortably within Chatmaid's rate limits.
For very large campaigns (thousands of contacts), consider moving to a proper automation platform (n8n, Make) rather than Apps Script, as Apps Script has a 6-minute execution time limit per run.