How to Connect Make (Integromat) to WhatsApp Using the Chatmaid API
Make + Chatmaid is one of the fastest ways to add WhatsApp to any existing automation — in most cases under 30 minutes. The HTTP module handles everything the native module would, and Make's visual interface makes it accessible to non-developers. Get started: developers.chatmaid.net/signup — free sandbox, no credit card
Make (formerly Integromat) has one of the most powerful visual automation engines available. With over 1,000 app integrations and a flexible HTTP module, it can connect to virtually any API — including WhatsApp via Chatmaid.
There's no native Chatmaid module in Make's library yet, but you don't need one. Make's built-in HTTP module handles the Chatmaid REST API directly. This guide walks through every step.
What You'll Build
By the end of this guide you'll have:
- A Make scenario that sends a WhatsApp message triggered by any event (new row in Google Sheets, new form submission, Stripe payment, Calendly booking, etc.)
- A Make scenario that receives incoming WhatsApp messages via webhook and routes them through your automation logic
Prerequisites
- A Make account (free tier works)
- A Chatmaid Developers account — sandbox is free
- A WhatsApp number connected to Chatmaid via QR scan
Part 1: Sending WhatsApp Messages from Make
Step 1: Create a new scenario
In Make, click Create a new scenario.
Step 2: Add your trigger
Choose whatever triggers your WhatsApp message. Common examples:
- Google Sheets → Watch Rows (new row added to a contact list)
- Typeform / Jotform / Tally → New submission
- Stripe → New payment succeeded
- Calendly → New event created
- Gmail → New email matching a filter
- Webhooks → Custom webhook (for triggering from your own app)
For this example, use Webhooks → Custom webhook as the trigger so you can test manually.
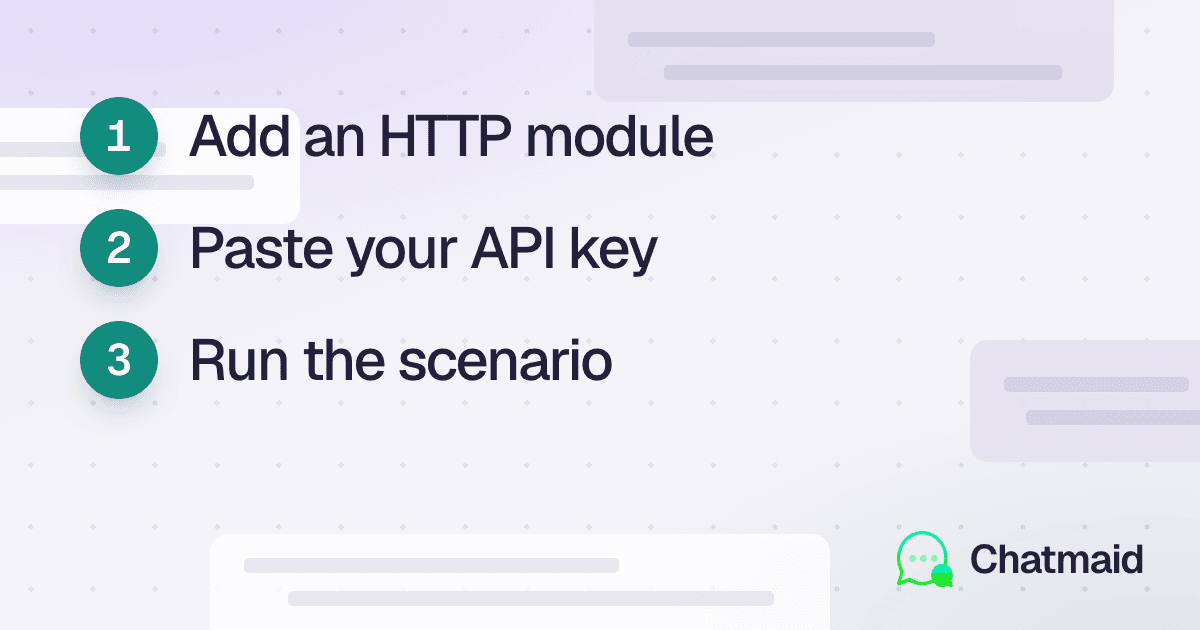
Step 3: Add an HTTP module
Click the + button to add a new module. Search for HTTP and select Make a request.
Configure it:
URL:
https://developers-api.chatmaid.net/v1/messages/send
Method: POST
Headers: Click Add header twice:
Header Name
Header Value
Authorization
Bearer sk_live_xxxxxxxxxxxx
Content-Type
application/json
Replace sk_live_xxxxxxxxxxxx with your Chatmaid API key. To keep this secure, store it in Make as a custom variable (Go to your organization → Variables → Add variable → CHATMAID_KEY), then reference it as {{custom.CHATMAID_KEY}}.
Body type: Raw
Content type: JSON (application/json)
Request content:
json
{ "fromPhoneId": "+15551234567", "to": "{{1.phone}}", "content": "Hi {{1.name}}, your appointment is confirmed for {{1.date}} at {{1.time}}. Reply CONFIRM to confirm." }
Replace {{1.phone}}, {{1.name}}, etc. with the actual field mappings from your trigger module. Make's visual mapper lets you click the fields from your trigger to insert them.
Step 4: Parse the response
The Chatmaid API returns:
json
{ "messageId": "msg_abc123", "status": "queued", "createdAt": "2026-06-01T10:30:00Z" }
If you want to use the messageId downstream (to log it, or check delivery status later), set the HTTP module's Parse response to Yes and map {{http.messageId}} in subsequent modules.
Step 5: Test and activate
Click Run once to test. If the HTTP module returns a green checkmark and a 200 OK response, the message was sent. Check your WhatsApp.
Once verified, click Scheduling and set how often the scenario should run, or leave it as triggered (webhook, new row, etc.).
Part 2: Receiving WhatsApp Messages in Make
This is how you build an inbound WhatsApp flow: customer sends a message → Make processes it → your scenario takes action.
Step 1: Create a new scenario with a Webhooks trigger
Add a Webhooks → Custom webhook module as your trigger. Click Add to create a new webhook. Make will generate a URL like:
https://hook.eu1.make.com/abc123xyz456
Copy this URL.
Step 2: Register the webhook in Chatmaid
In your Chatmaid dashboard:
- Go to Webhooks → Add Webhook
- Paste the Make webhook URL
- Select the
message.receivedevent - Save
Step 3: Define the webhook data structure
Make needs to know the shape of the incoming payload to map fields visually. Either:
Option A: Click Redetermine data structure in the Webhooks module, then send a test WhatsApp to your connected number. Make will capture the payload and auto-detect the structure.
Option B: Click Add next to Data Structure and paste this JSON schema manually:
json
{ "event": "message.received", "data": { "messageId": "msg_xyz", "from": "+50761234567", "to": "+15551234567", "content": "Hello", "type": "text", "timestamp": "2026-06-01T14:32:00Z" } }
Step 4: Add your processing logic
Now you can add any Make modules after the webhook trigger:
Filter: Add a Filter condition to only continue if {{1.event}} equals message.received — this ignores outbound message webhooks.
Router: Use a Router module to branch by keyword:
- If
{{1.data.content}}contains "STATUS" → order lookup flow - If
{{1.data.content}}contains "CANCEL" → cancellation flow - Else → default AI response flow
OpenAI: Add a OpenAI → Create a Completion module to generate an AI reply based on the customer message.
Reply via Chatmaid: Add another HTTP → Make a request module to send the reply back:
json
{ "fromPhoneId": "{{1.data.to}}", "to": "{{1.data.from}}", "content": "{{openai.choices[0].message.content}}" }
Note how fromPhoneId uses {{1.data.to}} (the number the customer messaged) and to uses {{1.data.from}} (the customer's number) — swapped from the inbound payload.
Part 3: Common Make + Chatmaid Scenarios
Scenario: New Calendly Booking → WhatsApp Confirmation
Trigger: Calendly → Watch Events
Action: HTTP → Chatmaid send
Message template:
Hi {{calendly.invitee_name}}! Your booking is confirmed 🎉 📅 {{calendly.event_start_time}} 📍 {{calendly.event_location}} Add to calendar: {{calendly.event_url}} Questions? Just reply to this message.
Scenario: Stripe Payment → WhatsApp Receipt
Trigger: Stripe → Watch Events (payment_intent.succeeded)
Action: HTTP → Chatmaid send
Message:
Payment received! ✅ Amount: ${{stripe.amount / 100}} Description: {{stripe.description}} Receipt: {{stripe.receipt_url}} Thank you for your business!
Scenario: Google Form → WhatsApp Welcome + CRM Log
Trigger: Google Forms → Watch Responses
Actions:
- HTTP → Chatmaid send (welcome message)
- Google Sheets → Add row (log contact)
- Gmail → Send notification (alert sales team)
Scenario: New Airtable Record → WhatsApp Outreach
Trigger: Airtable → Watch Records (Status = "Contact")
Action: HTTP → Chatmaid send
Post-action: Airtable → Update Record (Status = "Contacted", WhatsApp_Sent = true)
Part 4: Error Handling in Make
Make has built-in error handling. Add an Error Handler route from your HTTP module:
- Ignore: Skip failed sends, continue the scenario
- Retry: Make will retry the request after a delay
- Break: Stop the scenario and create an incomplete execution you can review
For WhatsApp sending, configure Retry with:
- Max retry attempts: 3
- Interval: 30 seconds
This handles transient network issues automatically.
You can also add a Set Variable module before the HTTP call to log the phone number and message, so you can debug failed sends from Make's execution history.
Staying Within Limits
Make scenarios run frequently. If you have a Google Sheets scenario that watches for new rows every minute and your sheet is busy, you might send many messages quickly. Chatmaid's rate limit returns a 429 status — handle this with the Retry error handler above.
For high-volume bulk sends (hundreds of messages per run), add a Sleep module (1-2 seconds) between sends, or use the Chatmaid sandbox to test at scale before going live.