The Complete WhatsApp API Quickstart for SaaS Developers (2026)
Adding WhatsApp to a SaaS product requires four components: Authentication — API key in the Authorization header A connected number — QR scan, one time Send endpoint — single POST to deliver messages Webhook endpoint — to receive incoming messages and status updates Everything else — idempotency, error handling, retries, media — builds on these four primitives. The sandbox lets you build and test the complete integration without a real WhatsApp number. When you're confident it works, flip the key and you're live. Full documentation: developers.chatmaid.net/docs Get started free: developers.chatmaid.net/signup
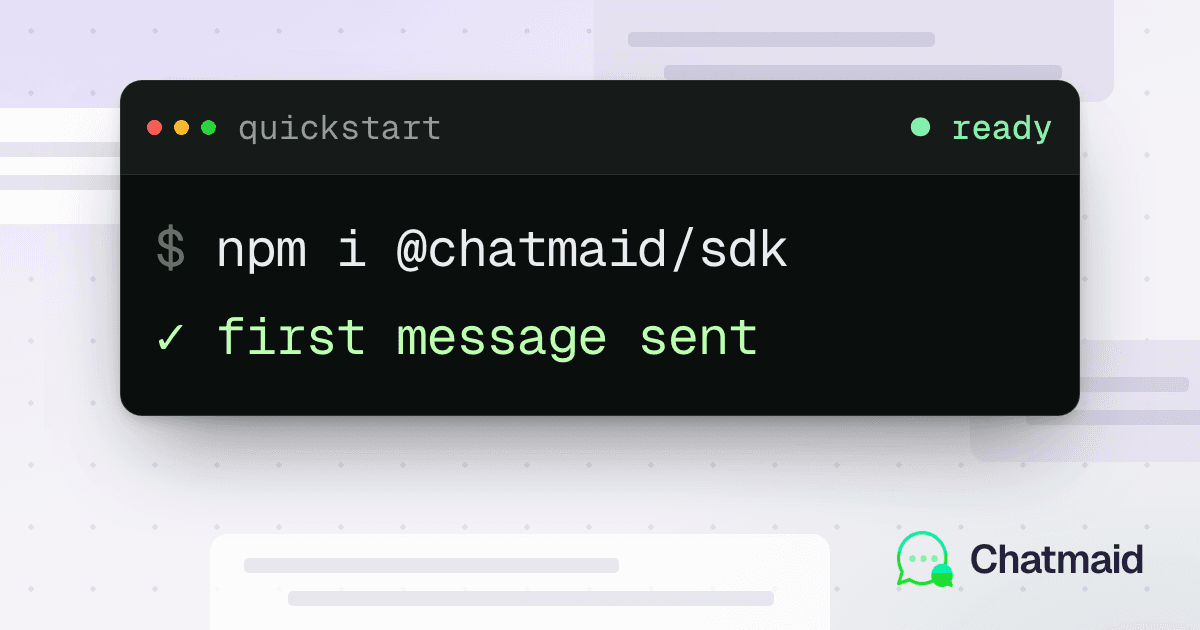
Adding WhatsApp to a SaaS product is a surprisingly high-leverage move. WhatsApp messages have open rates above 90%. They arrive in an app users check dozens of times per day. For notifications, alerts, onboarding flows, and customer communication, WhatsApp outperforms email by almost every metric.
This guide covers the complete integration from scratch — authentication, sending, receiving, error handling, idempotency, and production deployment — using the Chatmaid API.
Prerequisites
- A Chatmaid Developers account (free sandbox)
- A server with a public HTTPS endpoint (for webhooks)
- Basic familiarity with REST APIs and your language of choice
Part 1: Authentication
Chatmaid uses Bearer token authentication. Every request includes your API key in the Authorization header.
Authorization: Bearer sk_live_xxxxxxxxxxxx
Two key types:
sk_test_*— Sandbox. Simulates the full lifecycle. Never touches WhatsApp. Free.sk_live_*— Production. Requires an active $7.99/month subscription.
Always use sk_test_* during development. The sandbox fires real webhooks, returns real response structures, and simulates delivery status — indistinguishable from production at the API level.
Store your key in an environment variable:
bash
export CHATMAID_API_KEY=sk_test_xxxxxxxxxxxx
Never hardcode keys in source files or commit them to version control.
Part 2: Connecting a Phone Number
A connected phone number is the sender for your messages. Connect one in the Chatmaid dashboard by clicking Add Number and scanning the QR code with the WhatsApp app.
Once connected, the number appears in your dashboard with a phoneId — the identifier you'll use in API calls.
You can connect multiple numbers. Each additional number is $2.99/month. Route different message types through different numbers (marketing, support, ops alerts).
Part 3: Sending Messages
Basic text message
bash
curl -X POST https://developers-api.chatmaid.net/v1/messages/send \ -H "Authorization: Bearer $CHATMAID_API_KEY" \ -H "Content-Type: application/json" \ -d '{ "fromPhoneId": "+15551234567", "to": "+15557654321", "content": "Hello from the API!" }'
Response:
json
{ "messageId": "msg_abc123", "status": "queued", "createdAt": "2026-06-01T10:30:00Z" }
Idempotent sending
For any production system that retries requests, include an idempotency key. If you send the same request twice with the same key, only one message is delivered.
bash
curl -X POST https://developers-api.chatmaid.net/v1/messages/send \ -H "Authorization: Bearer $CHATMAID_API_KEY" \ -H "Idempotency-Key: order-shipped-order-4892-2026-06-01" \ -H "Content-Type: application/json" \ -d '{ "fromPhoneId": "+15551234567", "to": "+15557654321", "content": "Your order #4892 has shipped!" }'
Use a deterministic key that uniquely identifies the event: {event-type}-{entity-id}-{date}.
Sending media
json
{ "fromPhoneId": "+15551234567", "to": "+15557654321", "content": "Here is your invoice.", "media": { "url": "https://yourapp.com/invoices/inv-4892.pdf", "type": "document", "filename": "Invoice-4892.pdf" } }
Supported media types: image, document, audio, video.
Part 4: Client Libraries
Node.js
javascript
const chatmaid = require('@chatmaid/sdk'); // or use fetch directly const client = new chatmaid.Client({ apiKey: process.env.CHATMAID_API_KEY }); async function sendMessage(to, content) { const message = await client.messages.send({ fromPhoneId: process.env.SENDER_PHONE, to, content }); return message; }
If you prefer not to use the SDK, the native fetch API works directly:
javascript
async function sendWhatsApp(to, content) { const res = await fetch('https://developers-api.chatmaid.net/v1/messages/send', { method: 'POST', headers: { 'Authorization': `Bearer ${process.env.CHATMAID_API_KEY}`, 'Content-Type': 'application/json' }, body: JSON.stringify({ fromPhoneId: process.env.SENDER_PHONE, to, content }) }); if (!res.ok) { const err = await res.json(); throw new Error(`Chatmaid error: ${err.error.code} — ${err.error.hint}`); } return res.json(); }
Python
python
import os import requests from typing import Optional CHATMAID_API_KEY = os.environ['CHATMAID_API_KEY'] SENDER_PHONE = os.environ['SENDER_PHONE'] BASE_URL = 'https://developers-api.chatmaid.net/v1' def send_whatsapp( to: str, content: str, idempotency_key: Optional[str] = None ) -> dict: headers = { 'Authorization': f'Bearer {CHATMAID_API_KEY}', 'Content-Type': 'application/json' } if idempotency_key: headers['Idempotency-Key'] = idempotency_key response = requests.post( f'{BASE_URL}/messages/send', headers=headers, json={ 'fromPhoneId': SENDER_PHONE, 'to': to, 'content': content } ) response.raise_for_status() return response.json()
Ruby
ruby
require 'net/http' require 'json' require 'uri' def send_whatsapp(to, content, idempotency_key: nil) uri = URI('https://developers-api.chatmaid.net/v1/messages/send') request = Net::HTTP::Post.new(uri) request['Authorization'] = "Bearer #{ENV['CHATMAID_API_KEY']}" request['Content-Type'] = 'application/json' request['Idempotency-Key'] = idempotency_key if idempotency_key request.body = { fromPhoneId: ENV['SENDER_PHONE'], to: to, content: content }.to_json Net::HTTP.start(uri.hostname, uri.port, use_ssl: true) do |http| http.request(request) end end
Part 5: Error Handling
Chatmaid returns structured errors with a type, code, and hint:
json
{ "error": { "type": "rate_limit", "code": "too_many_requests", "hint": "retry after 60s" } }
Error types you'll encounter:
Type
Code
Meaning
authentication
invalid_api_key
Bad or expired key
validation
invalid_phone
Phone number format error
not_found
phone_not_connected
The sender phone is disconnected
rate_limit
too_many_requests
Too many requests — back off
upstream
whatsapp_unavailable
WhatsApp delivery issue — retry
Implement a retry policy for rate_limit and upstream errors. Don't retry authentication or validation errors (they won't succeed without fixing the underlying issue).
python
import time def send_with_retry(to: str, content: str, max_retries: int = 3): for attempt in range(max_retries): try: return send_whatsapp(to, content) except requests.HTTPError as e: error = e.response.json().get('error', {}) if error.get('type') == 'rate_limit': wait = 60 * (2 ** attempt) # Exponential backoff time.sleep(wait) elif error.get('type') == 'upstream': time.sleep(5 * (2 ** attempt)) else: raise # Don't retry auth or validation errors raise Exception("Max retries exceeded")
Part 6: Webhooks (Receiving Messages)
Endpoint requirements
Your webhook endpoint must:
- Be accessible over HTTPS
- Return a 2xx status within 5 seconds
- Accept POST requests with a JSON body
Registering your webhook
In the Chatmaid dashboard, go to Webhooks → Add. Enter your endpoint URL and select events. Copy the webhook secret.
Verifying signatures
javascript
function verifyWebhookSignature(body, signature, secret) { const crypto = require('crypto'); const expected = 'sha256=' + crypto .createHmac('sha256', secret) .update(JSON.stringify(body)) .digest('hex'); return crypto.timingSafeEqual( Buffer.from(signature), Buffer.from(expected) ); }
Always verify signatures. Without this check, anyone can POST fake events to your webhook URL.
Processing webhook events
javascript
app.post('/webhooks/chatmaid', (req, res) => { const sig = req.headers['x-chatmaid-signature']; if (!verifyWebhookSignature(req.body, sig, WEBHOOK_SECRET)) { return res.status(401).json({ error: 'Unauthorized' }); } // Respond immediately to prevent timeout res.status(200).json({ received: true }); // Process asynchronously setImmediate(() => { const { event, data } = req.body; switch (event) { case 'message.received': handleIncomingMessage(data); break; case 'message.delivered': handleDeliveryConfirmation(data); break; case 'message.failed': handleDeliveryFailure(data); break; } }); });
Part 7: Checking Message Status
Poll the status of a specific message:
bash
curl https://developers-api.chatmaid.net/v1/messages/msg_abc123 \ -H "Authorization: Bearer $CHATMAID_API_KEY"
json
{ "messageId": "msg_abc123", "status": "delivered", "sentAt": "2026-06-01T10:30:00Z", "deliveredAt": "2026-06-01T10:30:02Z" }
Status flow: queued → sent → delivered → read (or failed at any stage).
For production, prefer webhooks over polling. Polling works for one-off status checks; webhooks are better for real-time updates at scale.
Part 8: Rate Limits
Chatmaid's rate limit information is available via the X-RateLimit-* headers on every response:
X-RateLimit-Limit: 100 X-RateLimit-Remaining: 87 X-RateLimit-Reset: 1748772600
You can also query current usage programmatically. Build your sending queue to respect these limits and implement exponential backoff on 429 responses.
Part 9: Production Deployment Checklist
Before going live:
- Swap
sk_test_*forsk_live_*in production environment variables - Verify webhook signatures in your handler (don't skip this)
- Add idempotency keys to all send calls
- Implement retry logic with exponential backoff
- Set up error alerting for
message.failedwebhook events - Store message IDs and phone numbers in your database for audit trails
- Test the sandbox → production transition with a real phone number
- Review your sending patterns: only message opt-in contacts
Part 10: The MCP Server for Development
If you're using Claude Code, Cursor, or Windsurf to build your integration, install the Chatmaid MCP server to give your agent direct WhatsApp access during development:
bash
claude mcp add chatmaid \ --env CHATMAID_API_KEY=sk_test_xxx \ -- npx -y @chatmaid/mcp
Your coding agent can then test your integration end-to-end — sending real sandbox messages and inspecting webhook payloads — without you having to manually curl the API.